
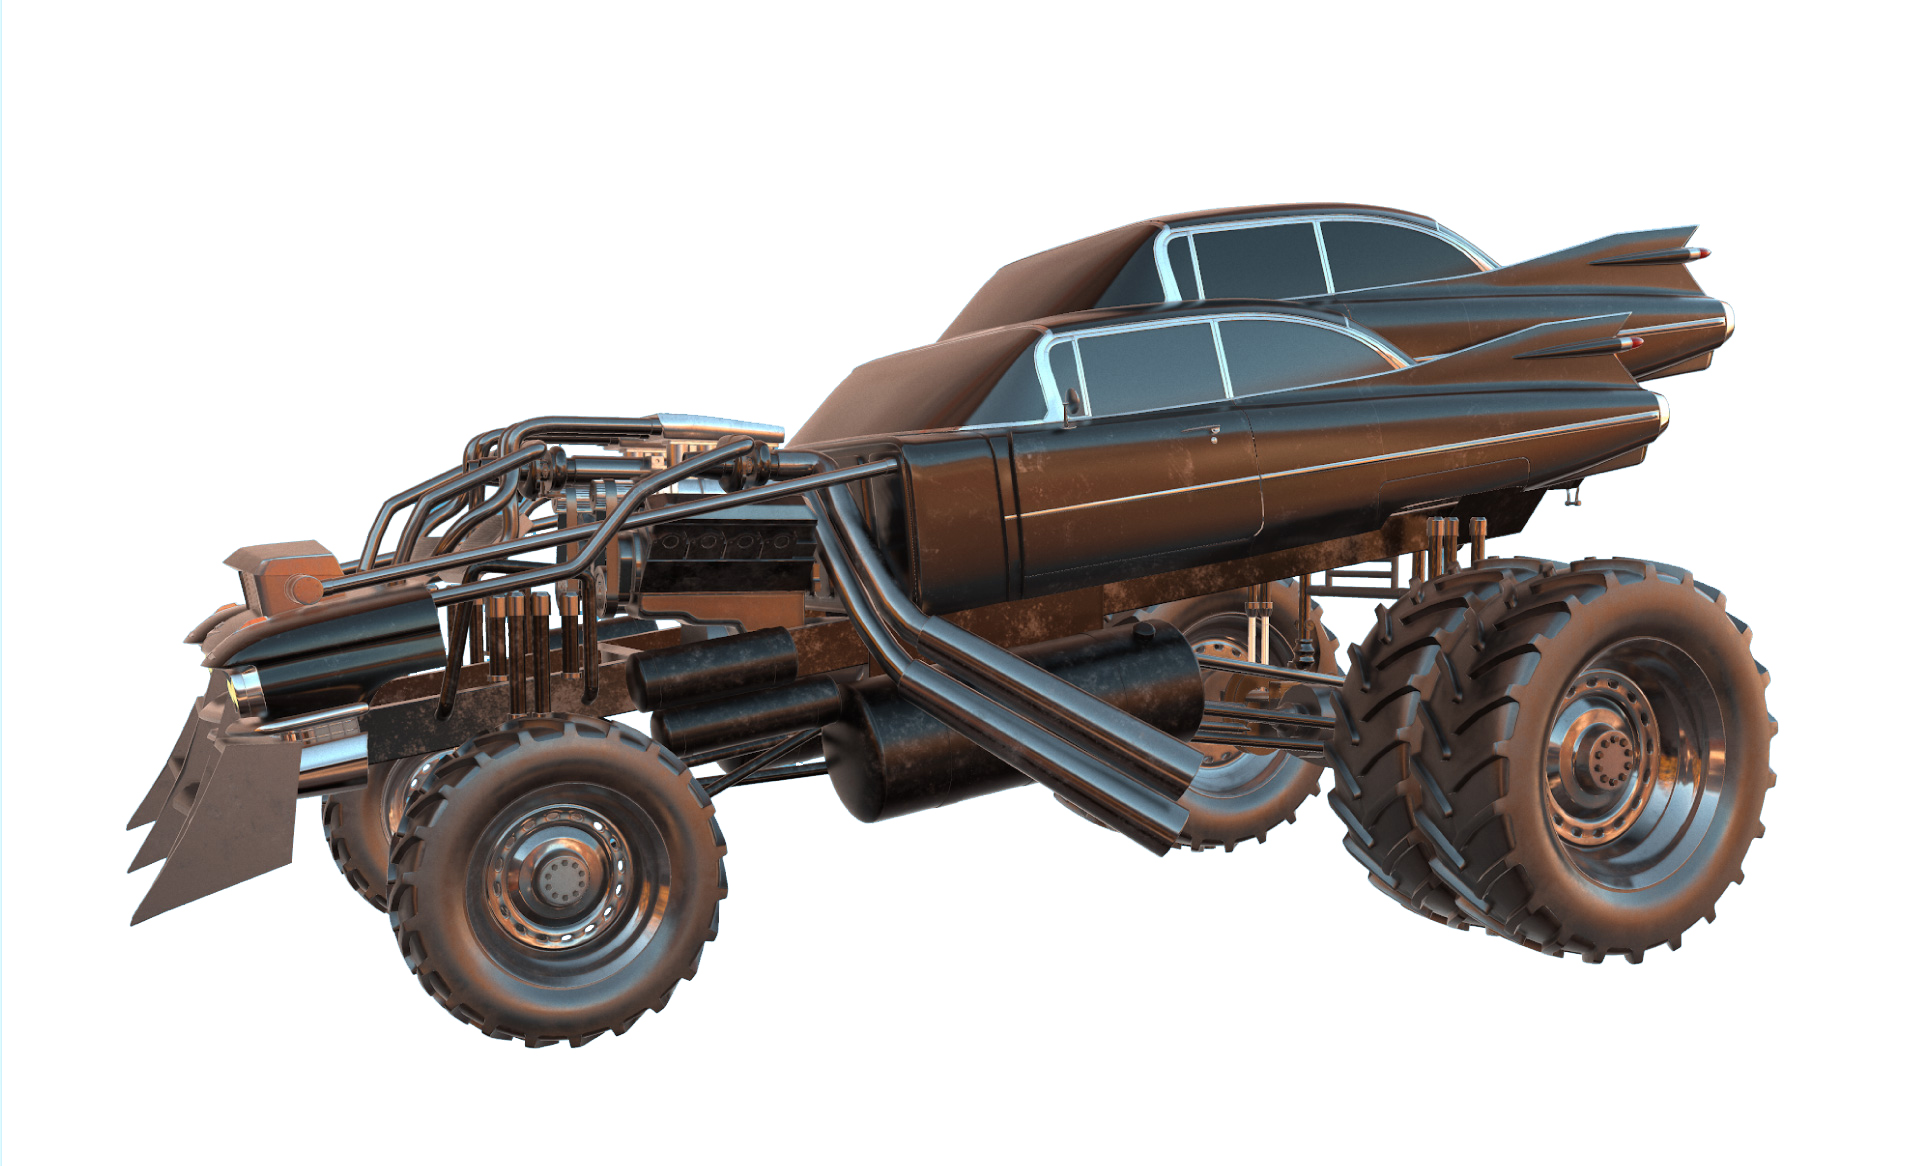

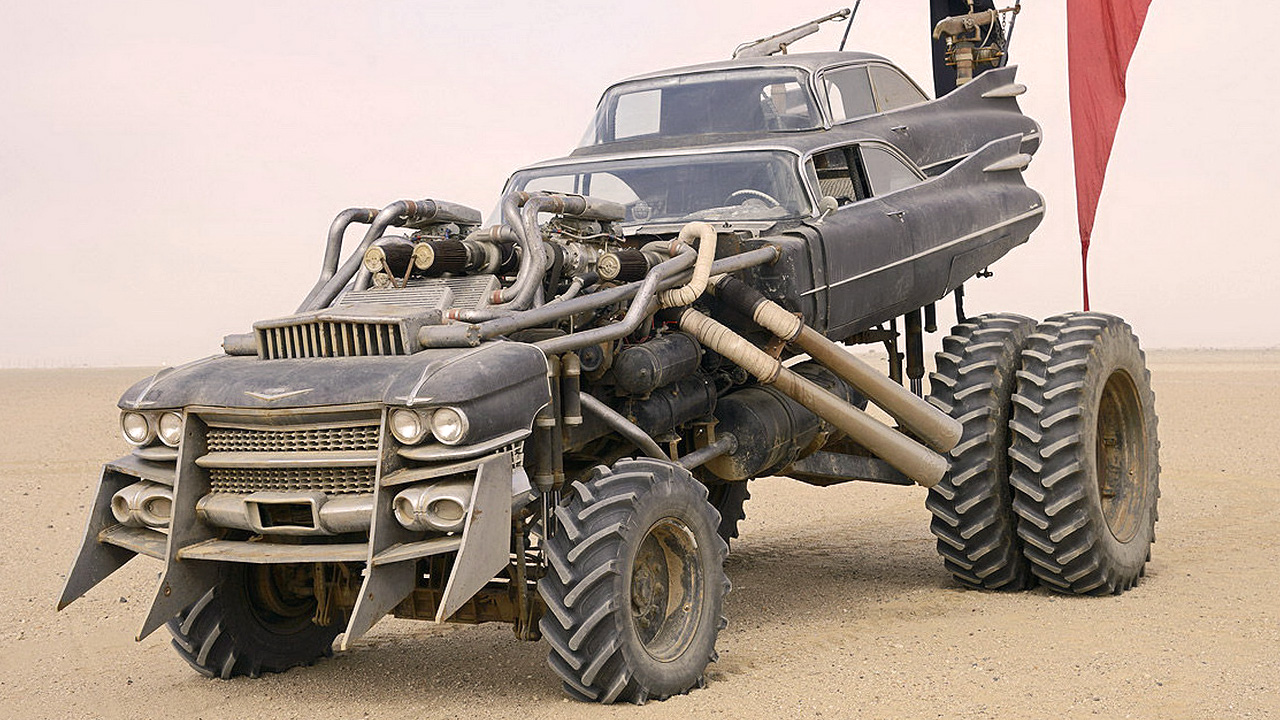
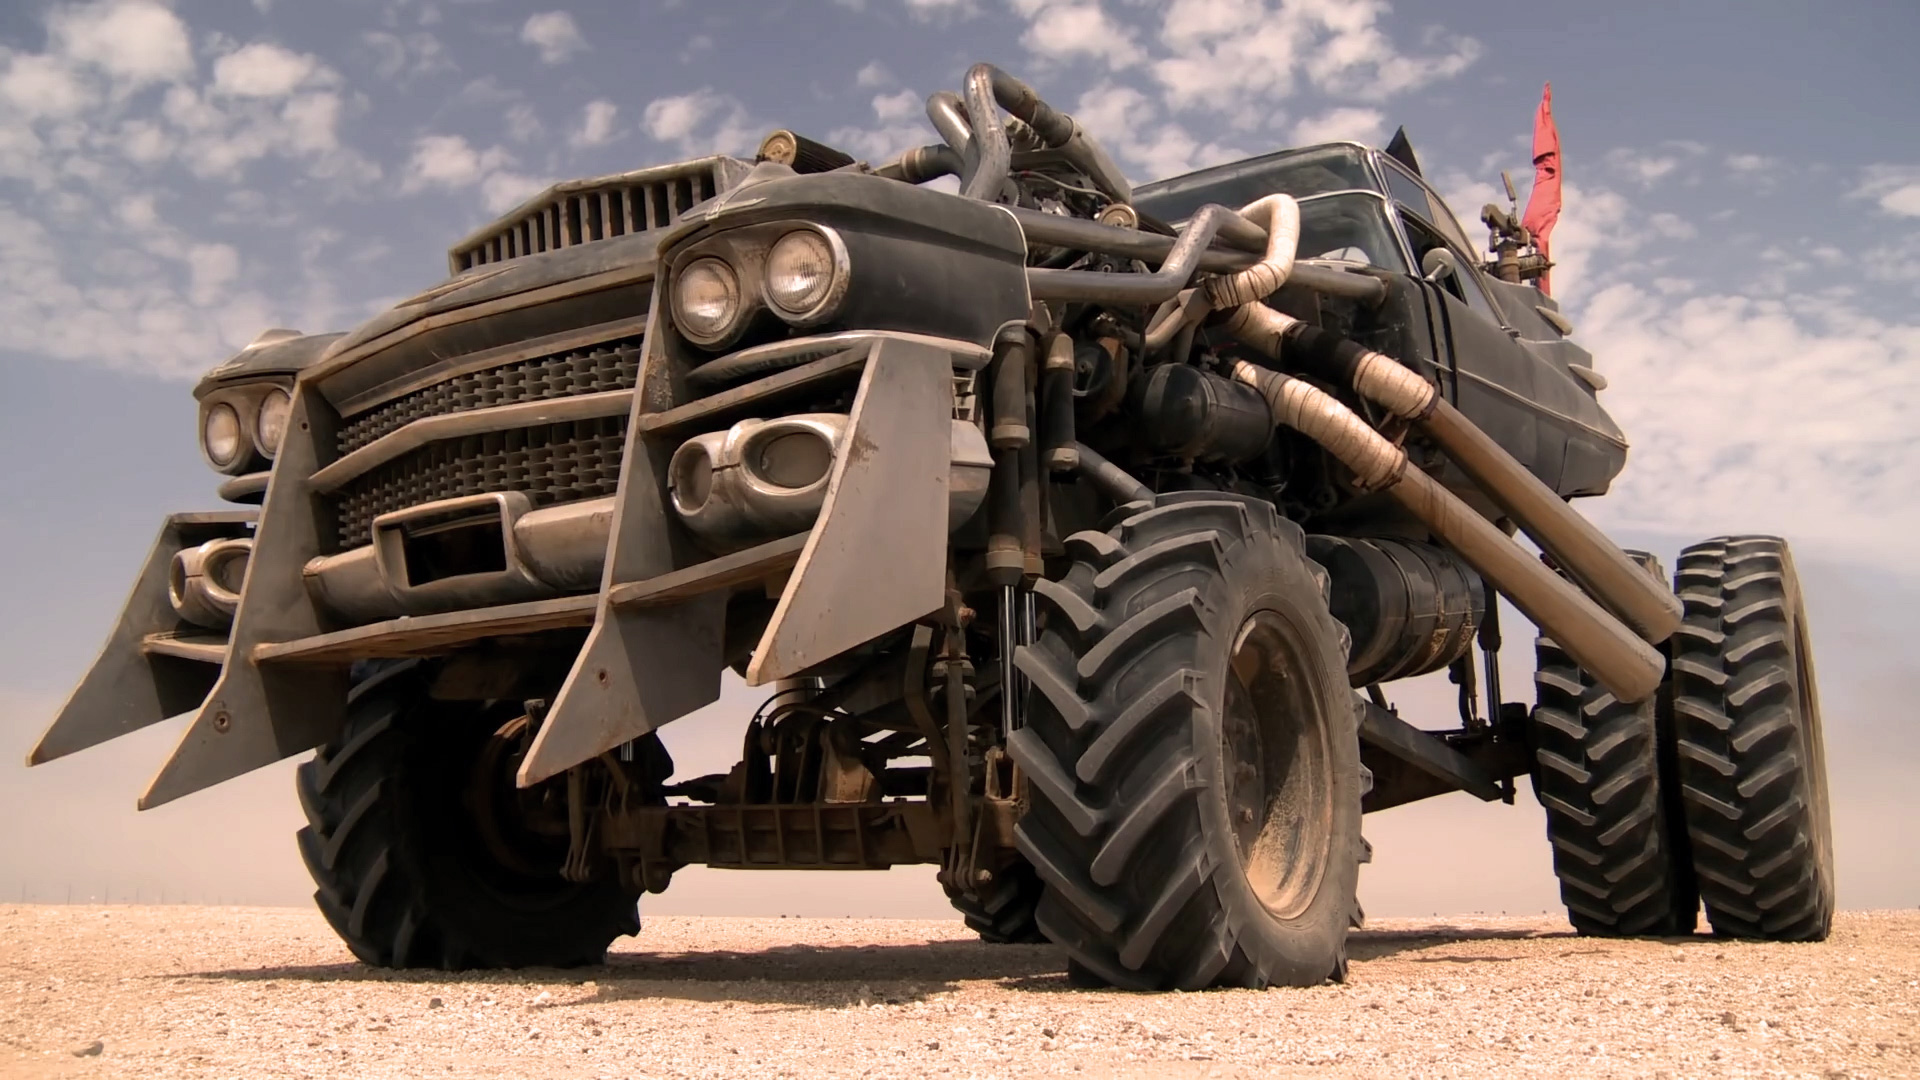
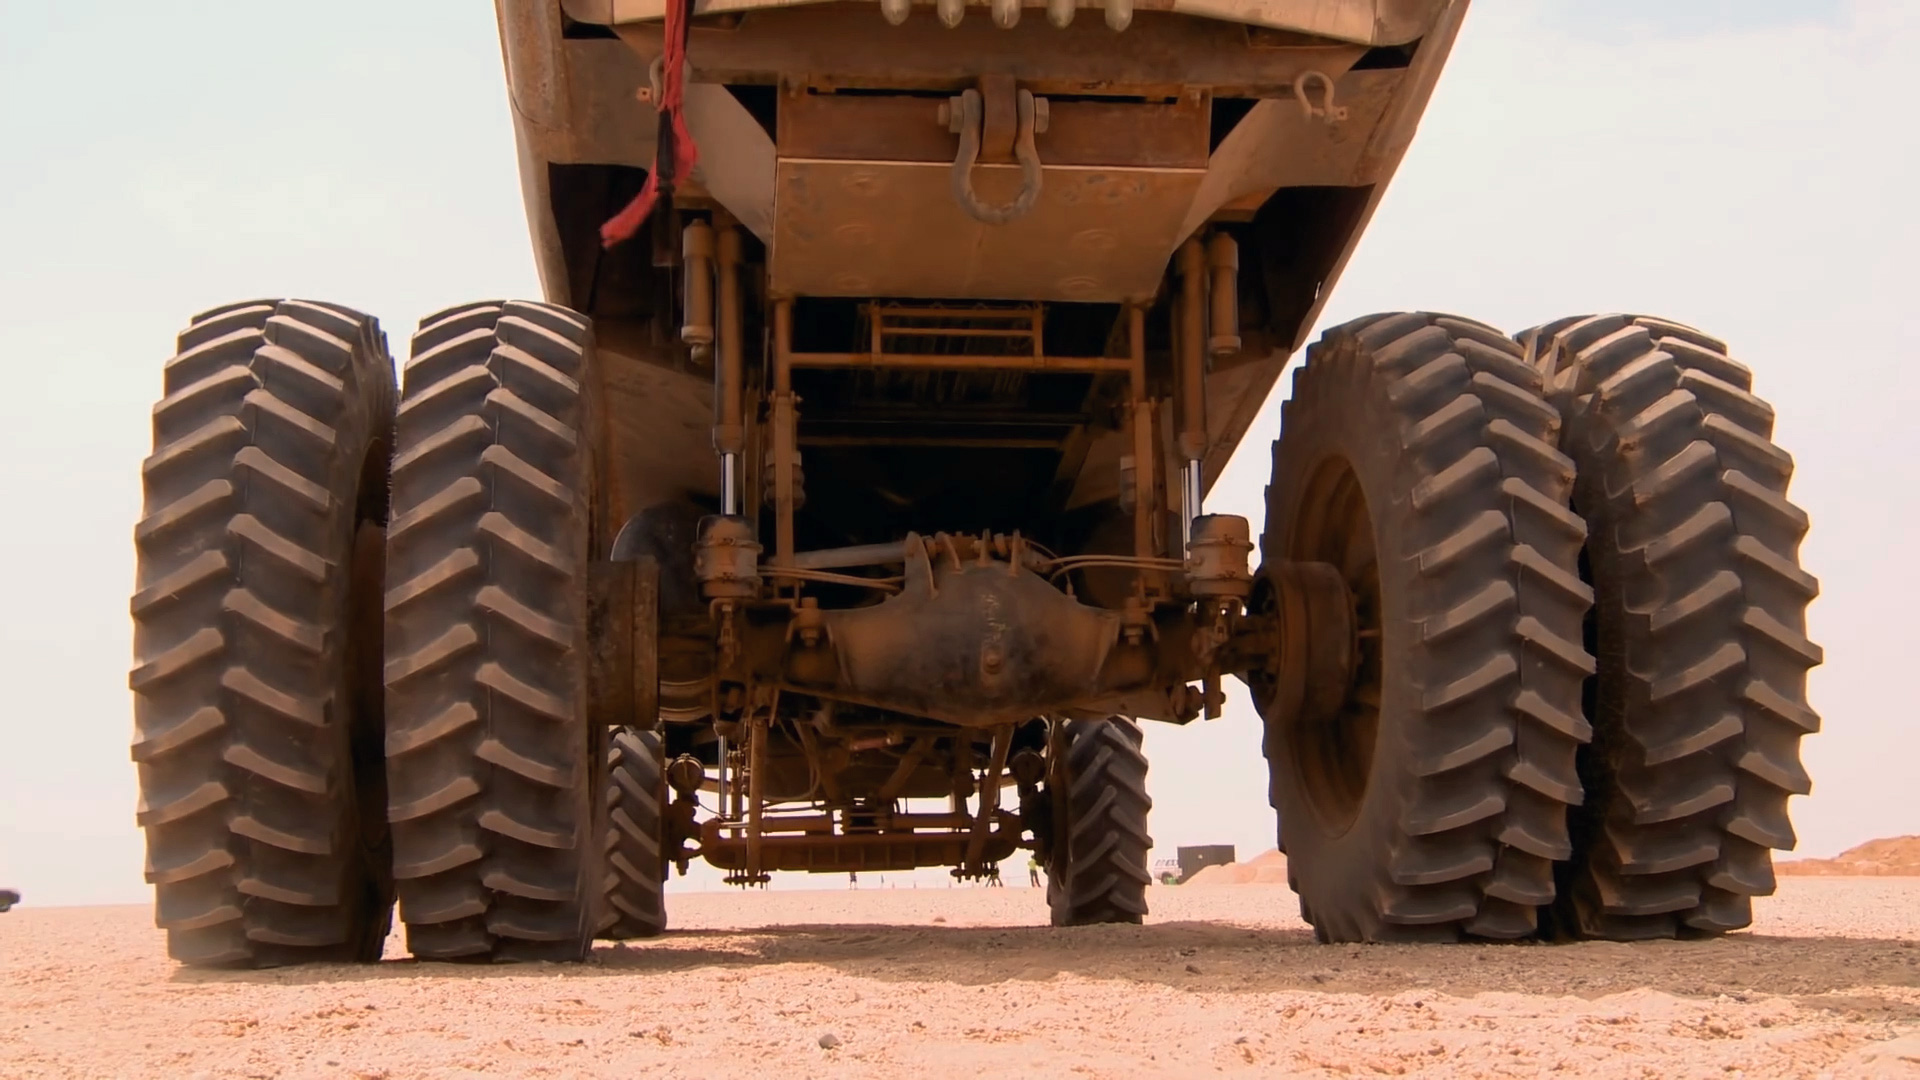
After seeing the most recent Mad Max film, Fury Road I was in awe of the art direction and vehicular creations featured in it. Feeling inspired I decided to model my favorite of the imaginative post-apocalyptic concepts, The Gigahorse, a behemoth Cadillac Coupe Deville with "two of everything", driven in the film by Immortan Joe. Collin Gibson, a production designer on the film describes the thought behind the character's vehicle:
"In a world where there's barely one of anything, to show you had power, he's the man who's got two of everything".
In doing this project I learned a great deal about the film industry and its art direction process, and just how much fabrication is involved in creating a tangible vehicle like this. The complexity of modeling it presented me with many challenges that I had to breakdown and find unique solutions to. This project was both difficult and rewarding, I gained new skills, developed new work flows, and at its completion, ended up with a pretty awesome model.
File Under:
Joe Titterton / Digital Media Specialist
| Software | Use |
|---|---|
| Illustrator | Model Sheets / Layouts |
| Maya | Modeling |
| UV Layout | UVs |
| TopoGun | Retopology of Engine |
| Substance | Texturing |
| Photoshop | Texturing / UVs |
| Unreal Engine 4 | Final Screenshots |
| Task | Time |
|---|---|
| Model Sheets / Layouts | 3 Days |
| Modeling | 4 Weeks |
| UVs | 2 Weeks |
| Retopology of Engine | 4 Days |
| Texturing | 3 Weeks |
| Final Scene Setup | 1 Week |
| Final Renders & Presentation | 1 Week |
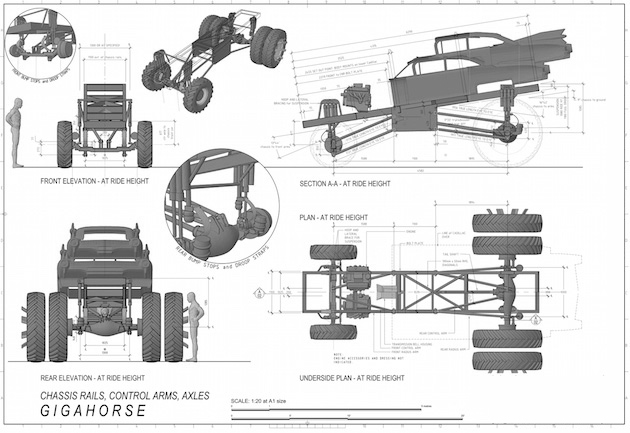
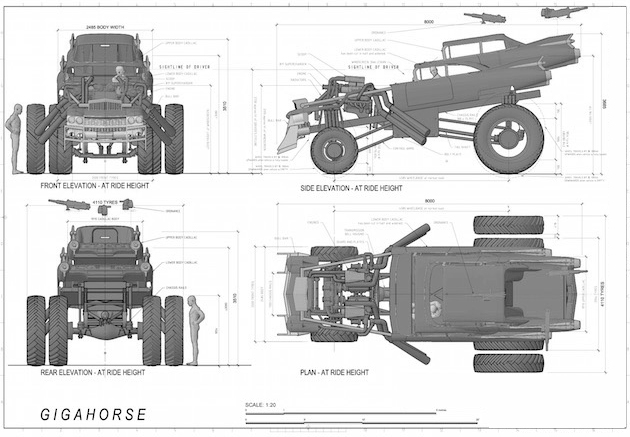
I started this project out searching for vector/engineering plans of the Cadillac. I knew if I could find accurate drawings of the car body I would be able to base the remainder of the model off of it. Fortunately pictures of the AutoCAD plans were released giving me a basis on which to create accurate proportions. I dug some more and was able to find vector drawings of the Cadillac which I could use to model a near perfect recreation.
After searching for every high-quality image I could find of the Gigahorse, I downloaded and organized them into various folders to create a reference library. I then laid out the model sheets on the x, y and z axis in Maya and started the modeling process.
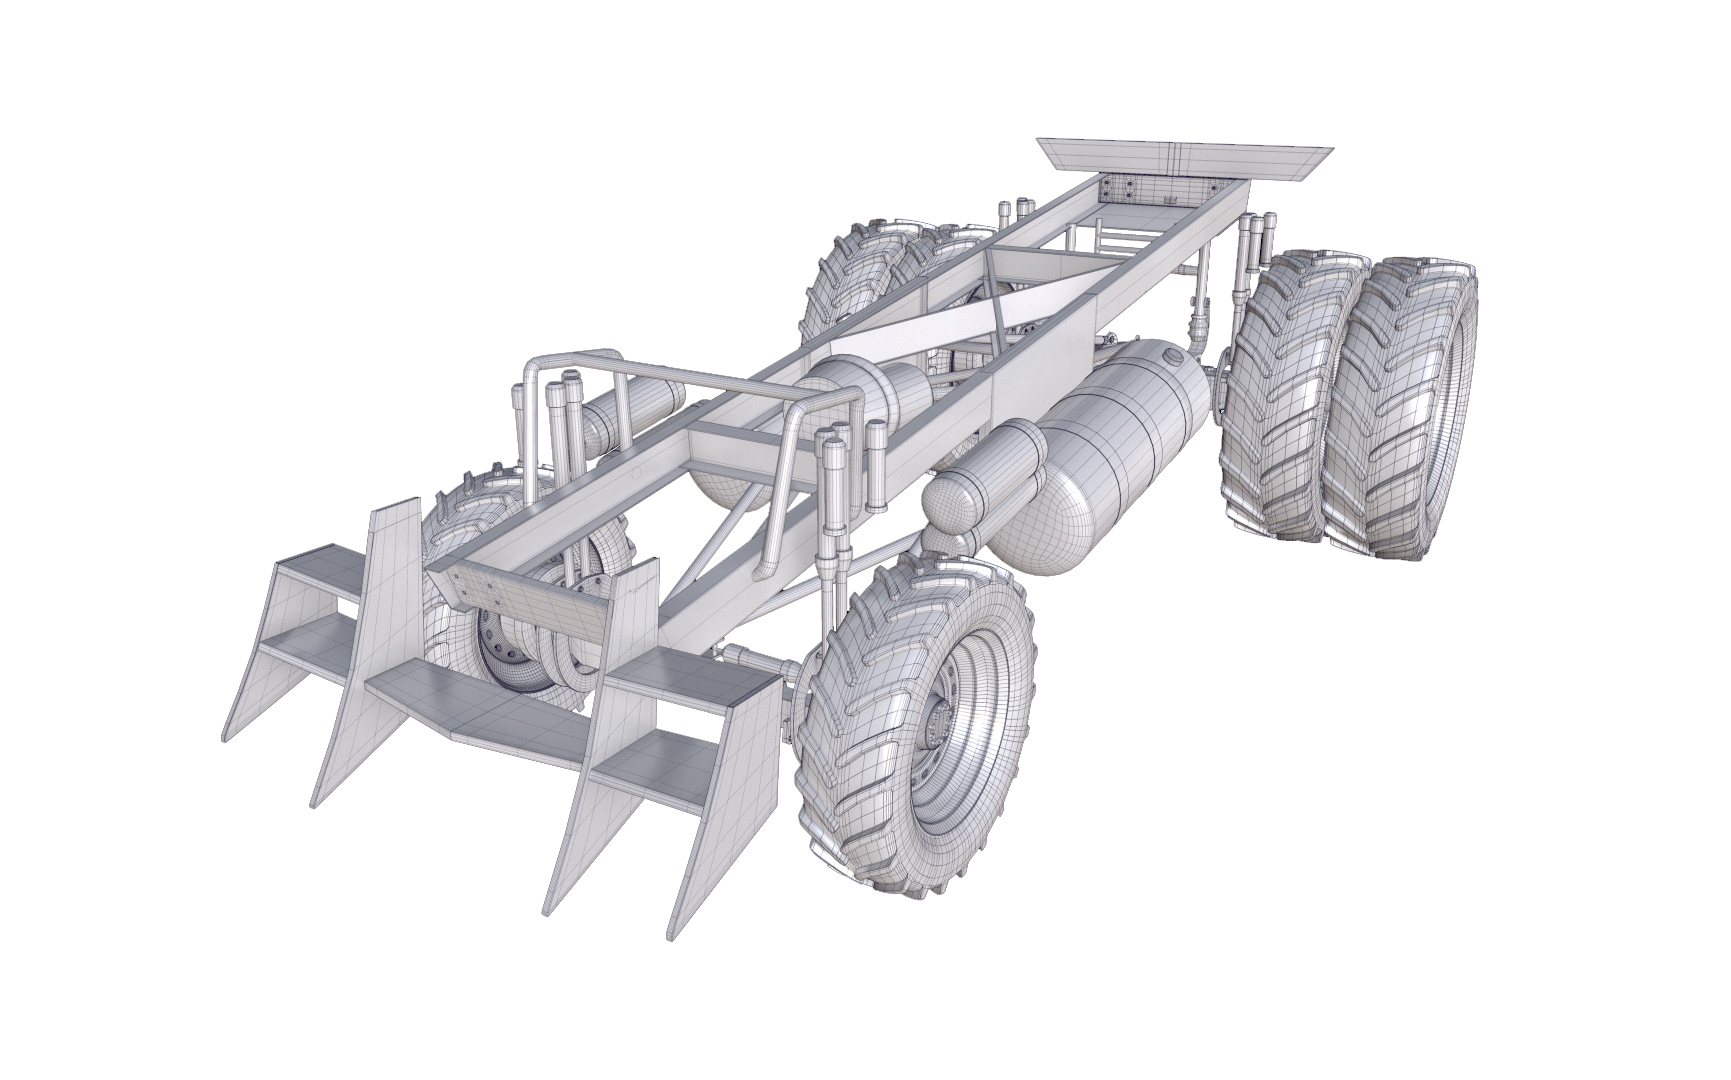
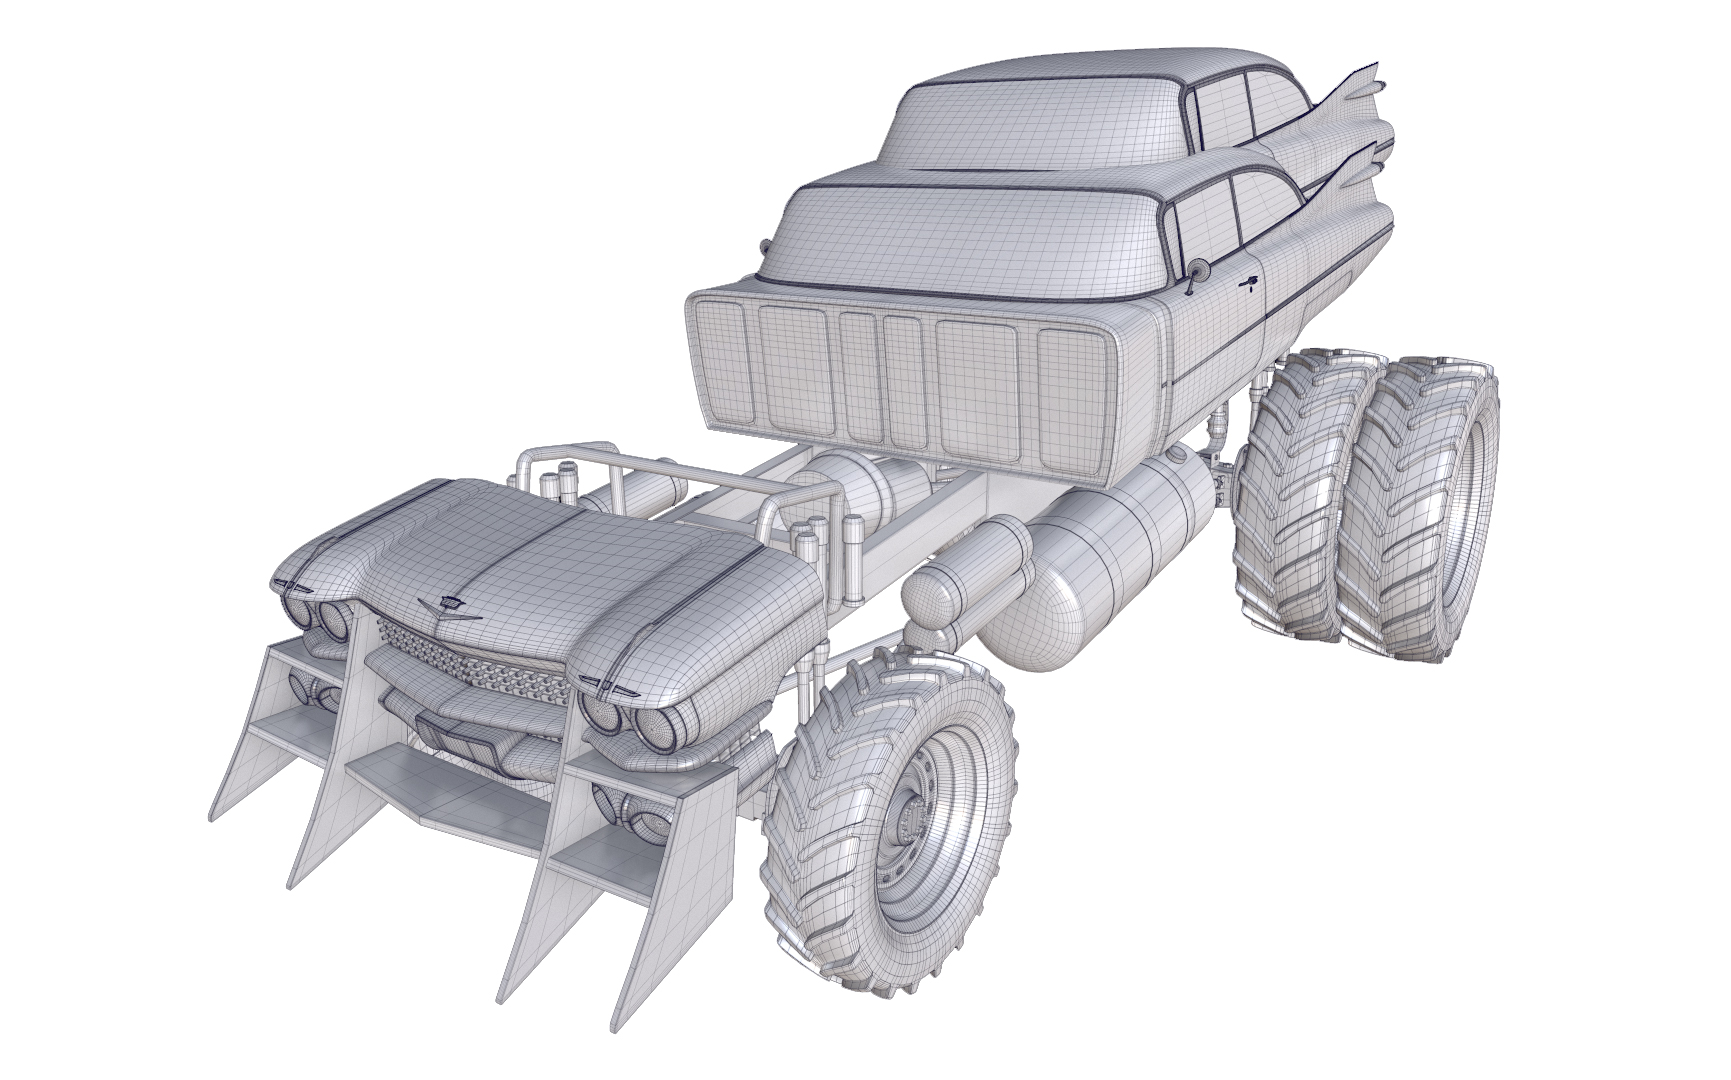
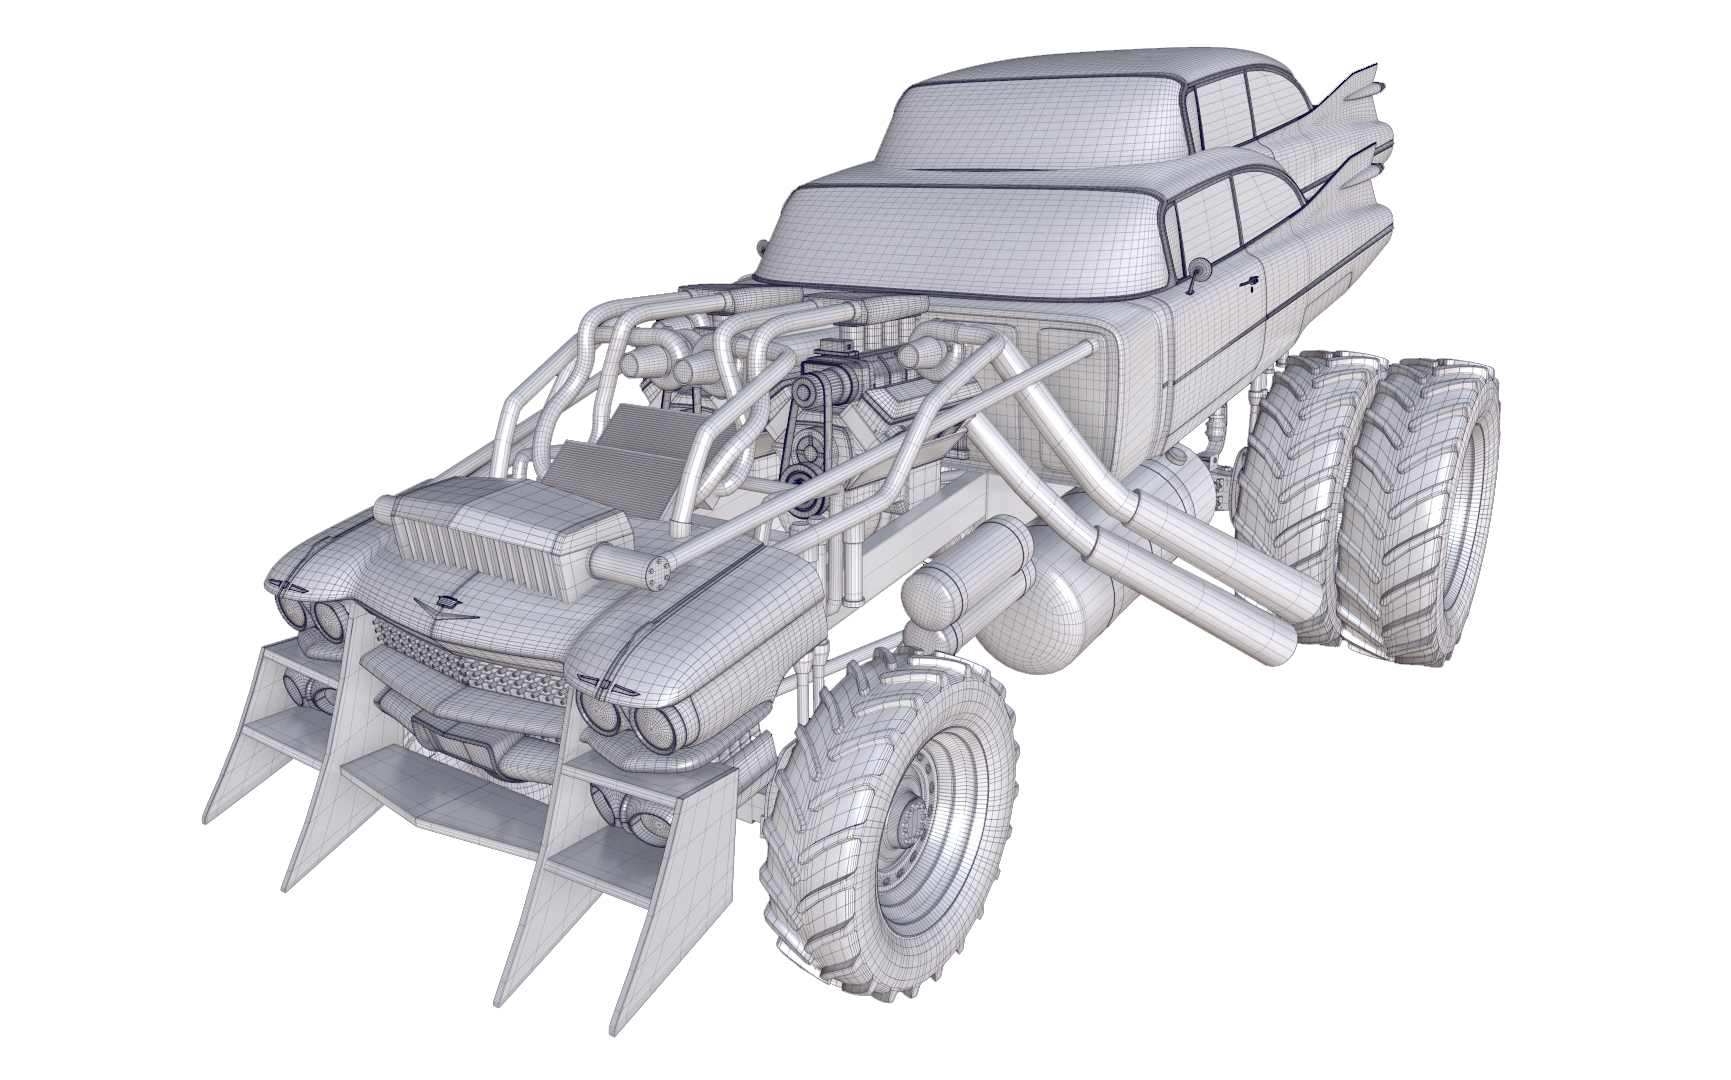
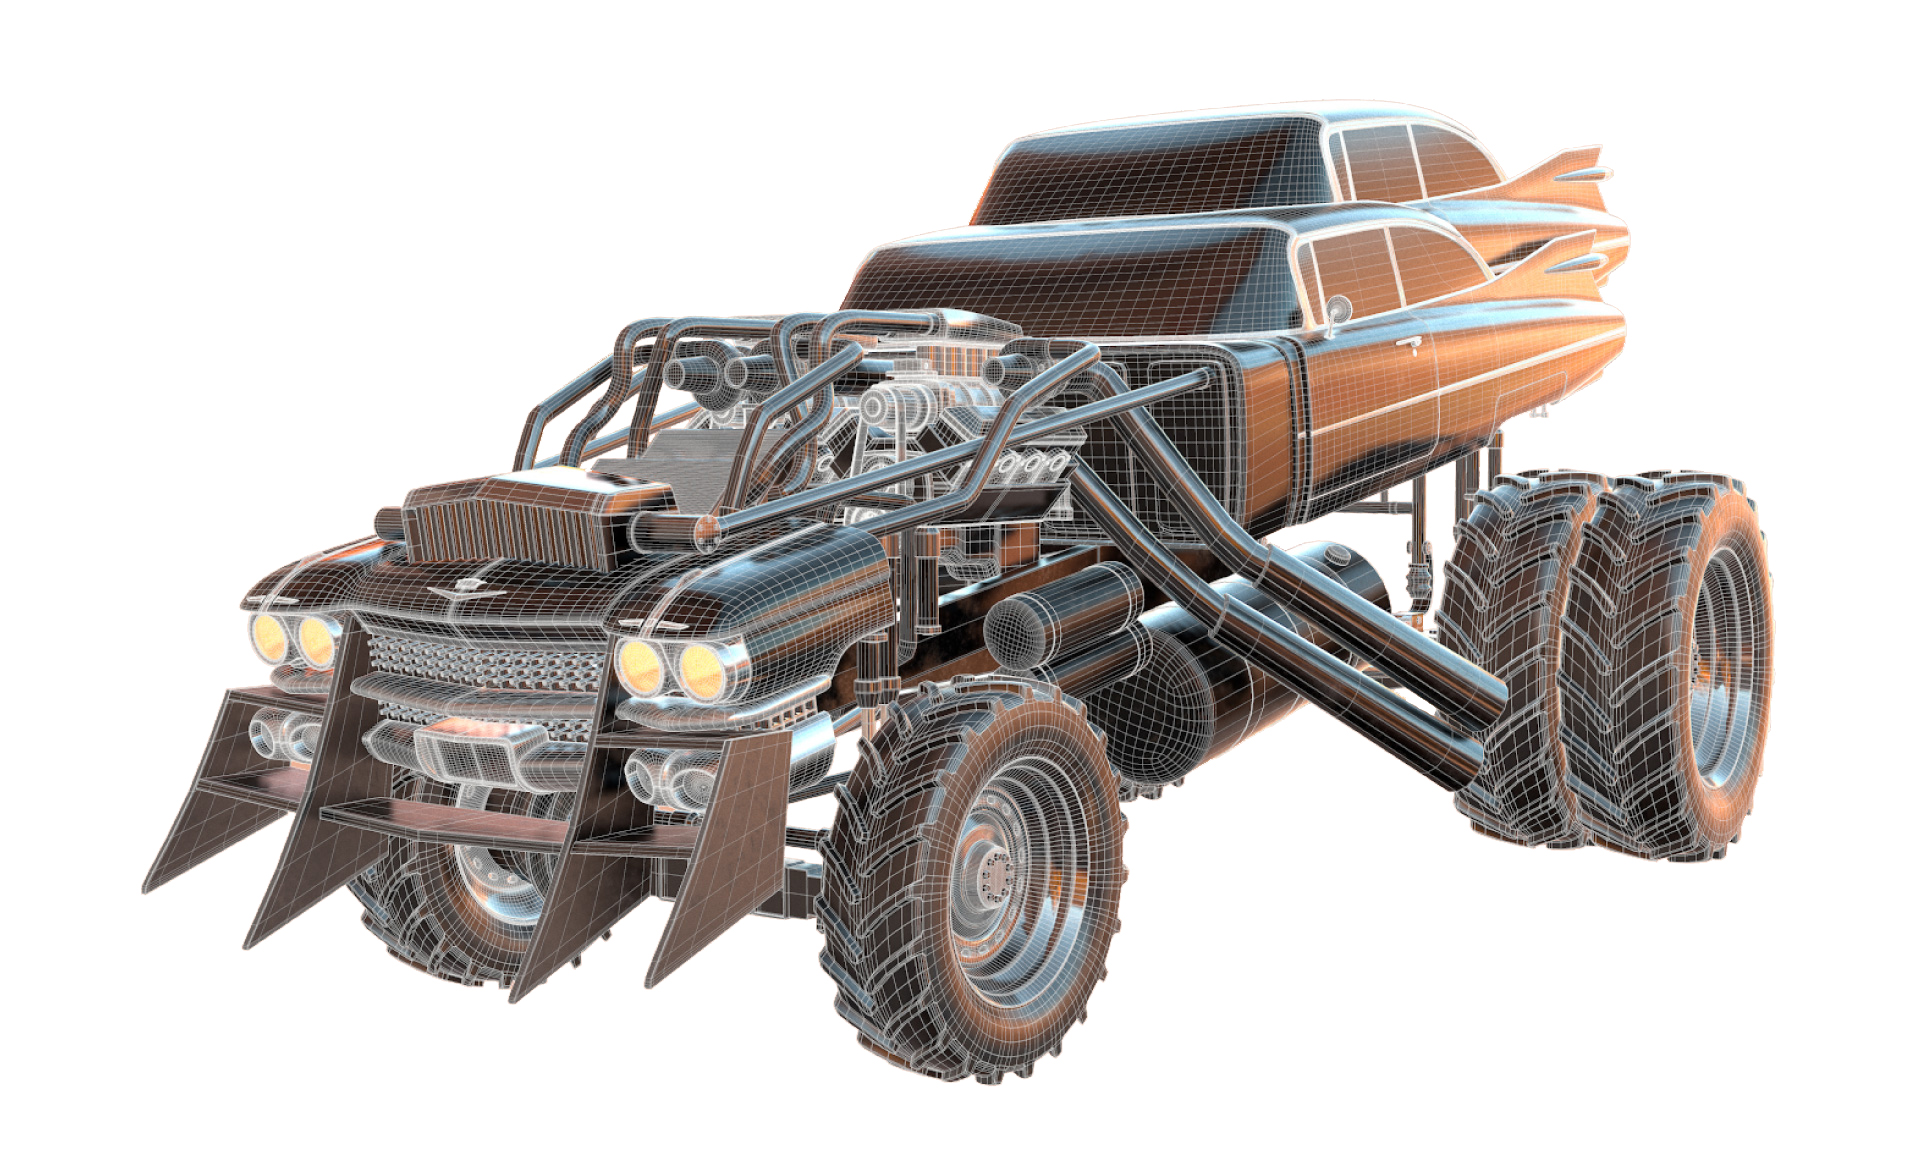
The majority of this model was created in Maya with the exception of the Engine which I created in AutoCAD. I based it off accurate schematics of the same Engine used in the film creation, a Chevy 502 Big-Block V-8. The Engine was then exported and brought over to TopoGun for retopology. I've learned over the years that having accurate and clear reference is key for achieving a realistic model, I constantly examined screenshots and images of the Gigahorse from the compiled library, and compared various parts to the model sheets. I built the model up in sections, completing the car body and frame first. Next I modeled the suspension and additional components. Finally was the engine, headers, and tires
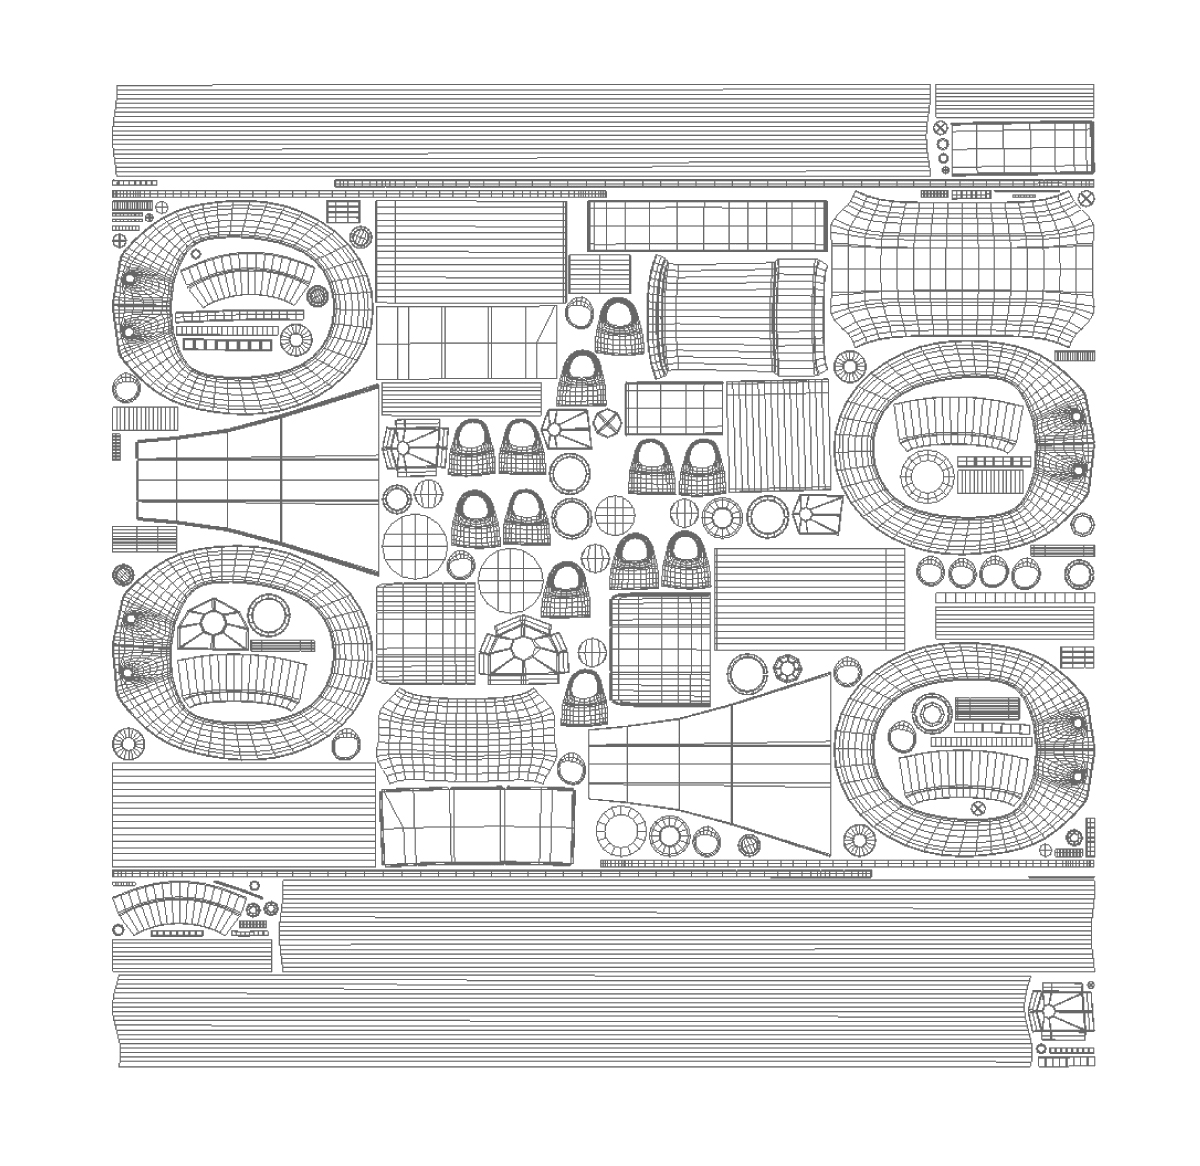
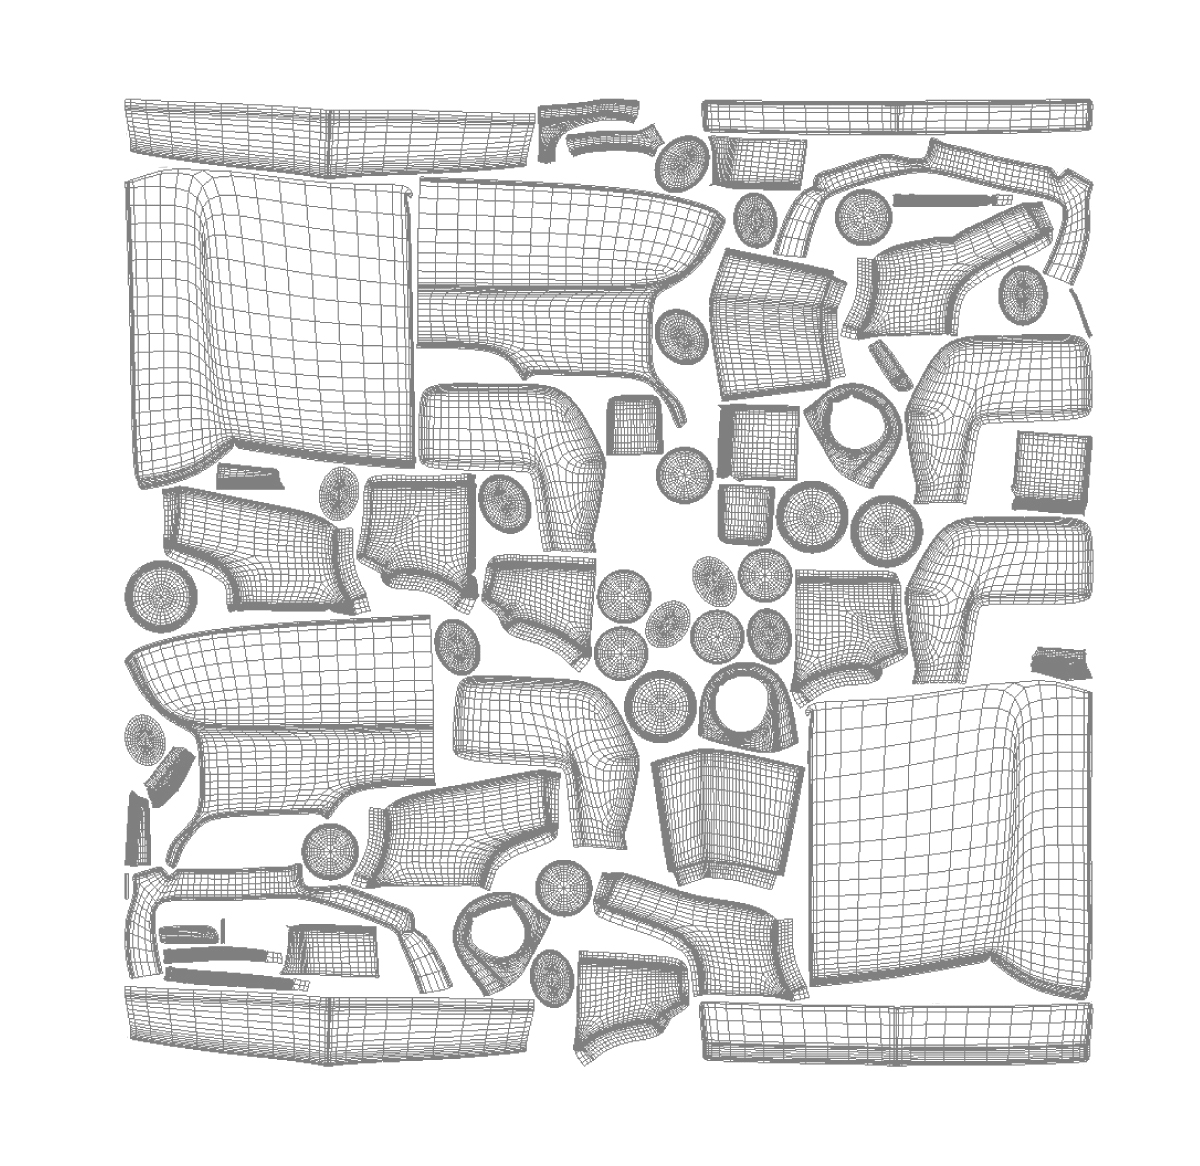
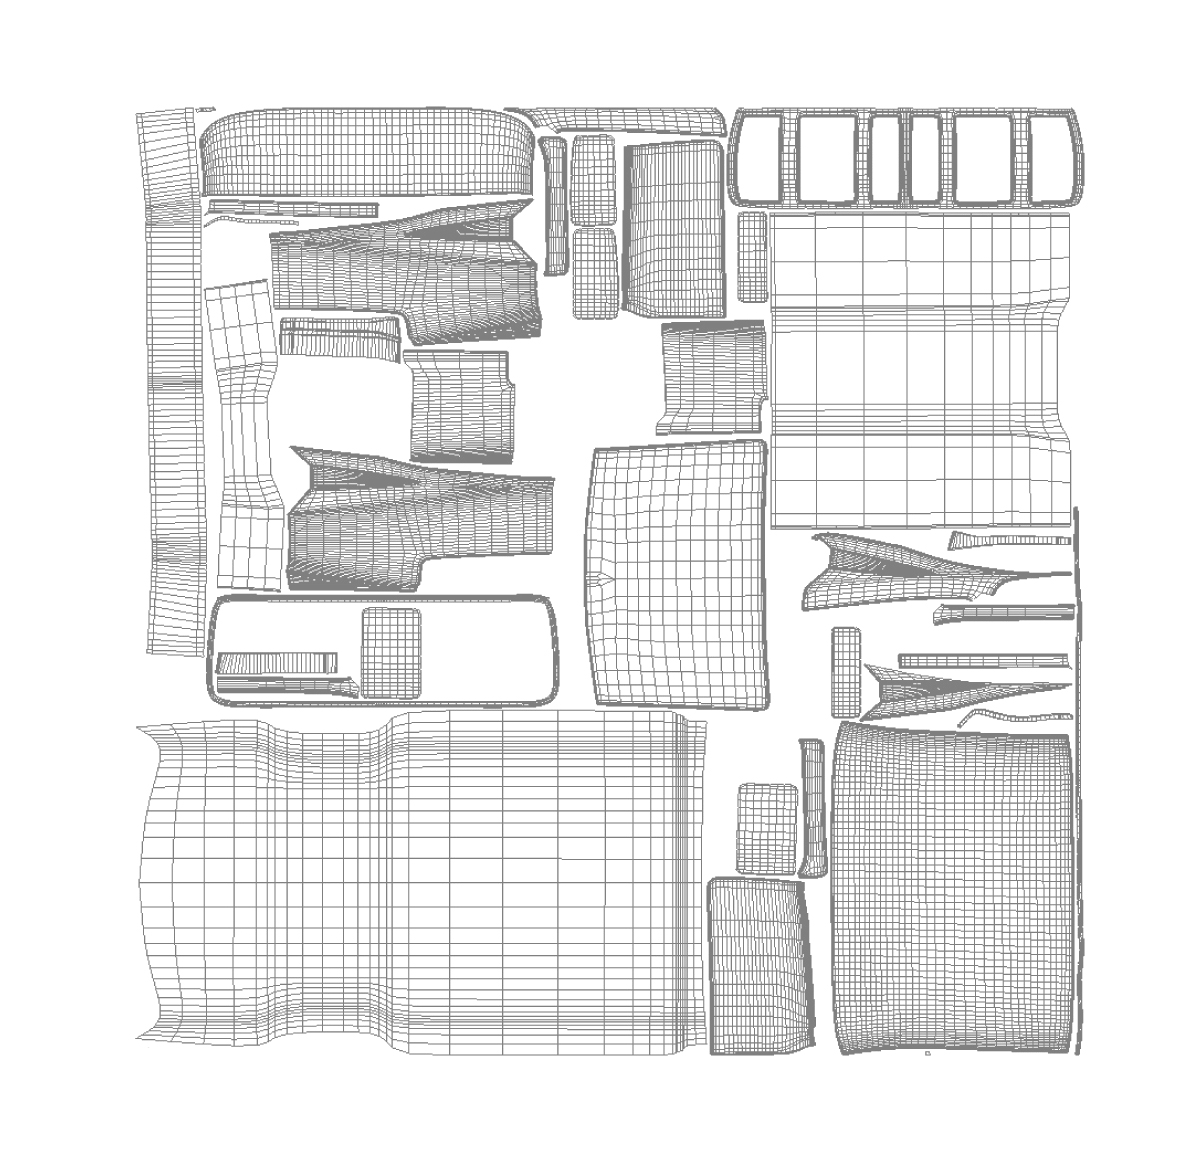
I used UV Layout and Maya for the UVs. This was quite a task due to abundance and varying complexity of the parts. I chose to fragment the model in several sections, this allowed me to achieve an even amount of high resolution detail throughout its entirety. It also made optimizing UV space in the 2k maps much more manageable.
For texturing I utilized Substance Painter and Photoshop to create pbr materials to fit the personalty of the Gigahorse. 2k and 1k maps were generated for the various sub-sections of the model. Albedo, micro surface, reflectivity, and normal maps were then exported from each Substance file, and brought over to UE4 as well as Marmoset where they would be applied the model.
2017 © Joe Titterton. All Rights Reserved.